Honeycomb Bracelet
Summary:
Skill Level: Beginner
Supplies Required: 13 White, 12 purple, 1 Clip, 0 to 8 elastics for extension
Description: This bracelet gets its name from the honeycomb pattern when placing the elastics onto the loom. The honeycomb (or hexagon) pattern is placed end to end and combined together creating this bracelet.
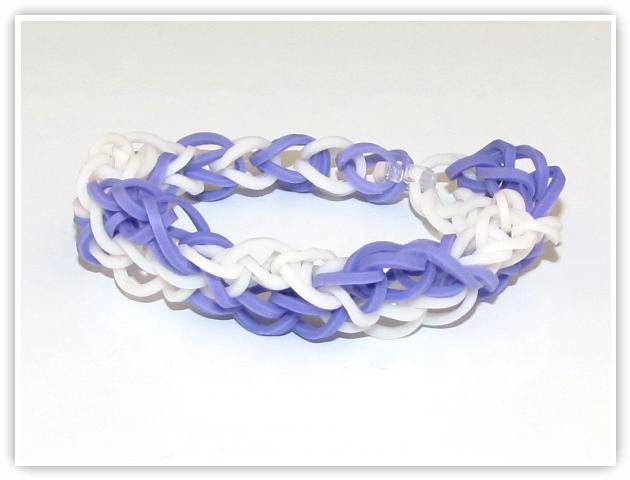
A picture of the Honeycomb Bracelet
A video tutorial to make the Honeycomb Bracelet
Step-by-Step Instructions for the Honeycomb Bracelet
1) Honeycomb
2) 12 Purple,13 White, 1 Clip, 0-8 Elastics for extension
3) Position loom so arrows are pointing up
4) Place the elastics in the following pattern:
   5    /       \   6
   3    |       |   4
   1    \       /   2
....repeat
5) Double-up a white elastics, and place on the top center peg
6) Turn loom around so arrows are pointing down
7) Loop the elastics in the following order:
   5    /       \   6
   3    |       |   4
   1    \       /   2
... repeat
8) Place the loom tool through the elastics on the top middle peg
9) Attach a white elastic onto the hook, pull through, and loop onto tool
10) Carefully pull the pattern completely from the loom
11) Rotate loom so the arrow are pointing up and place extension elastics
12) Remove tool from pattern, and loop the elastics onto top pegs of the extension
13) Rotate loom so arrows are pointing down, and loop the extension elastics
14) Attach the Clip to the top loop on the extension, and pull extension from the loom
15) Attach Clip to other end of the pattern
16) Honeycomb